You have a kit
How to take your soil sample
Watch it once, then work down the six steps.
Six steps, start to mailbox
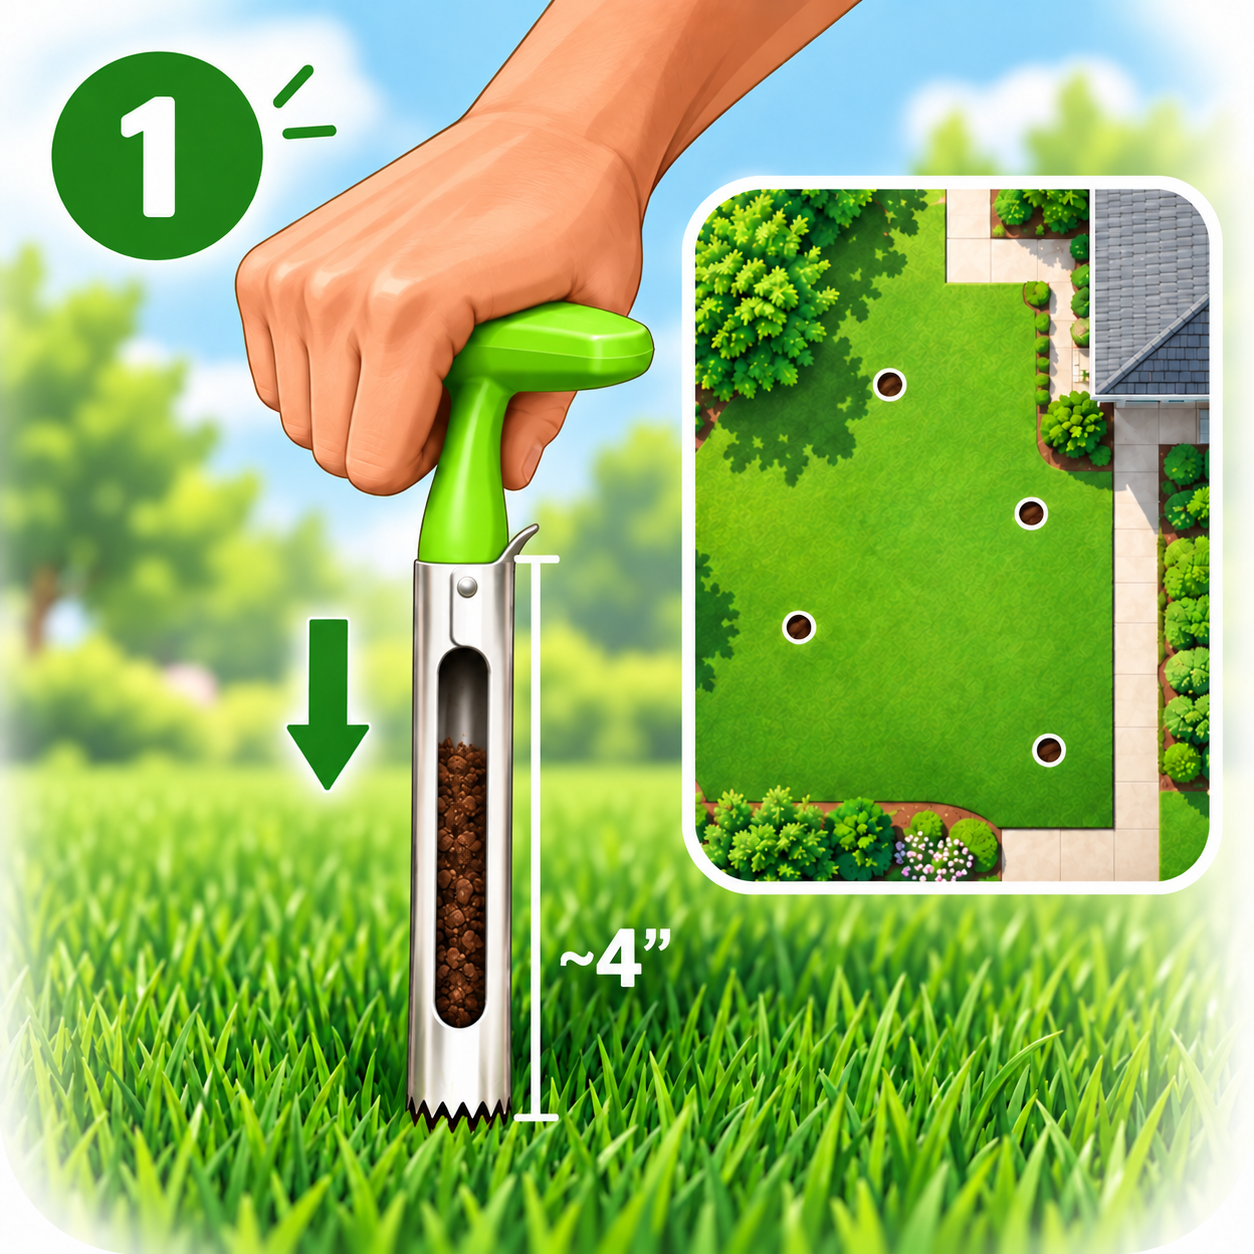
1. Pull a few cores
Remove any thatch, then push the probe about 4 inches deep in several spots across the same area. It is marked, so you hit the right depth every time.
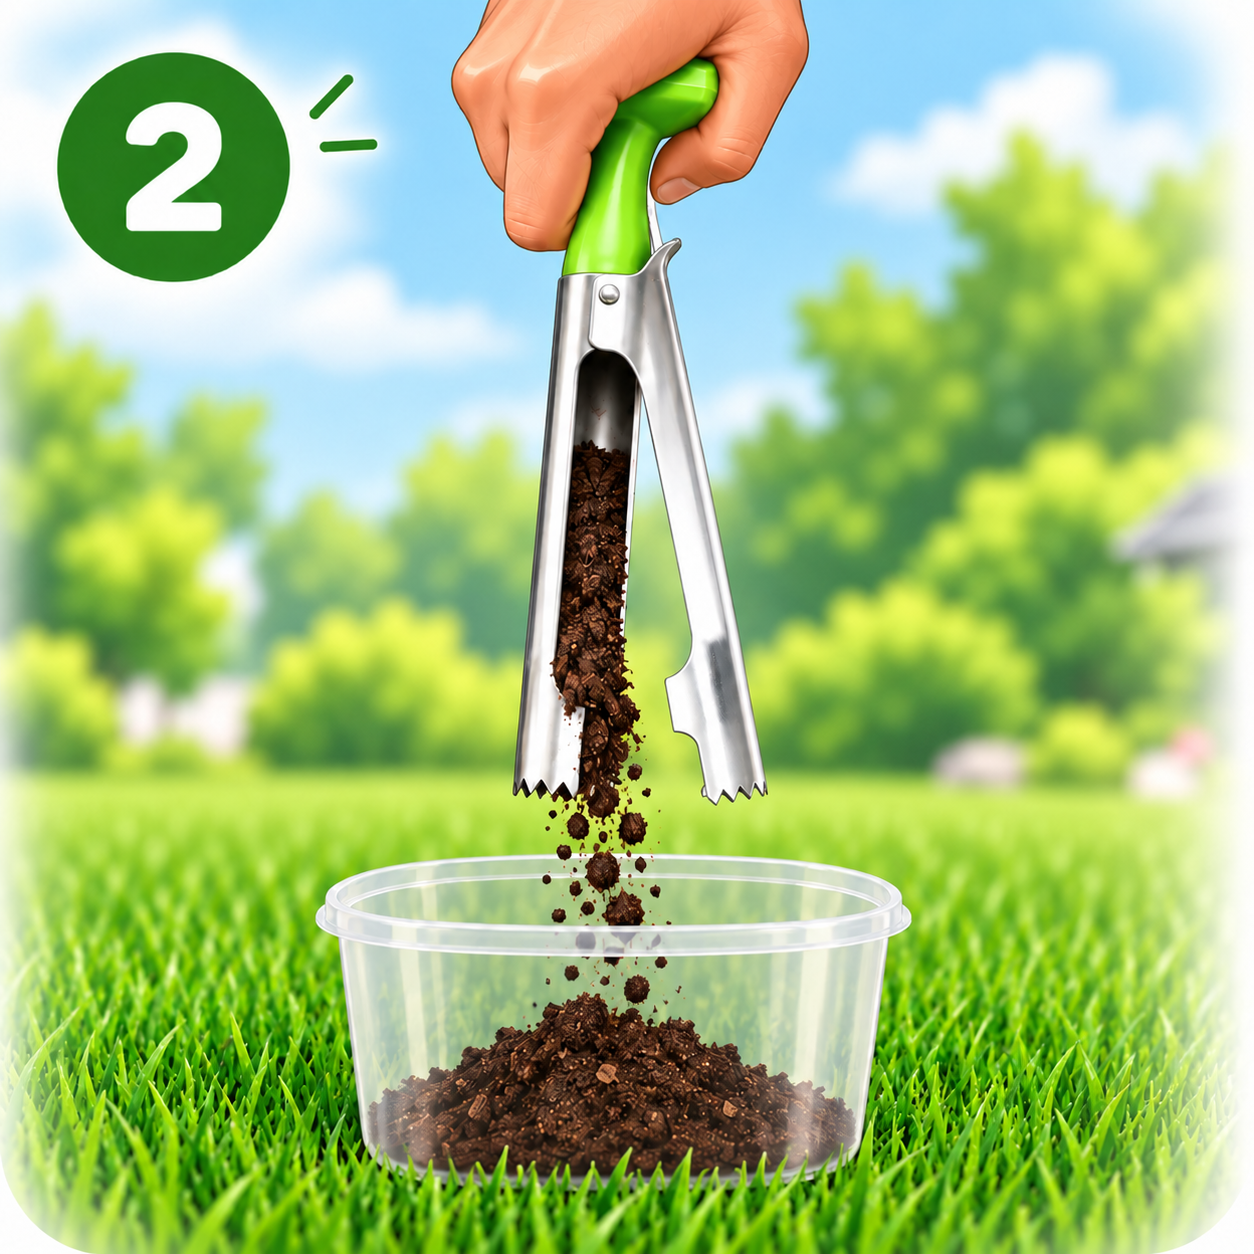
2. Mix them together
Empty every core into a clean plastic container and stir. One bag is one area - a lawn, a bed, a block of trees.
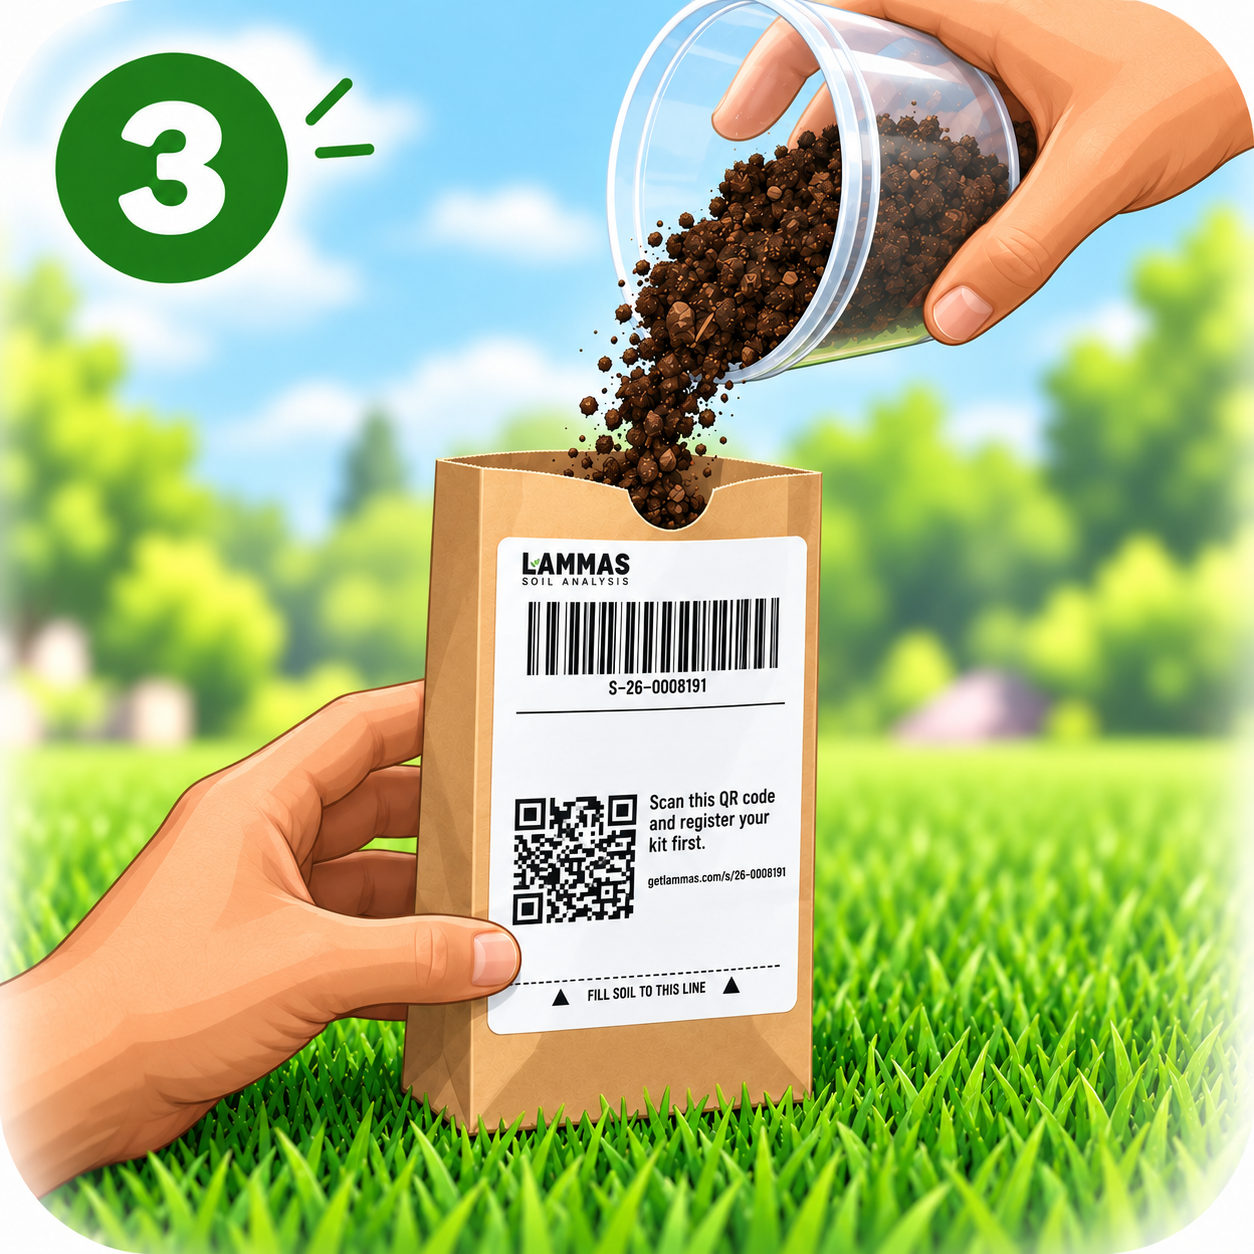
3. Register, then fill
If your bag has a QR code, scan it before you fill it. If it already shows your name, it's registered. Two bags with QR codes? Scan each one. Then fill to the line on the label.
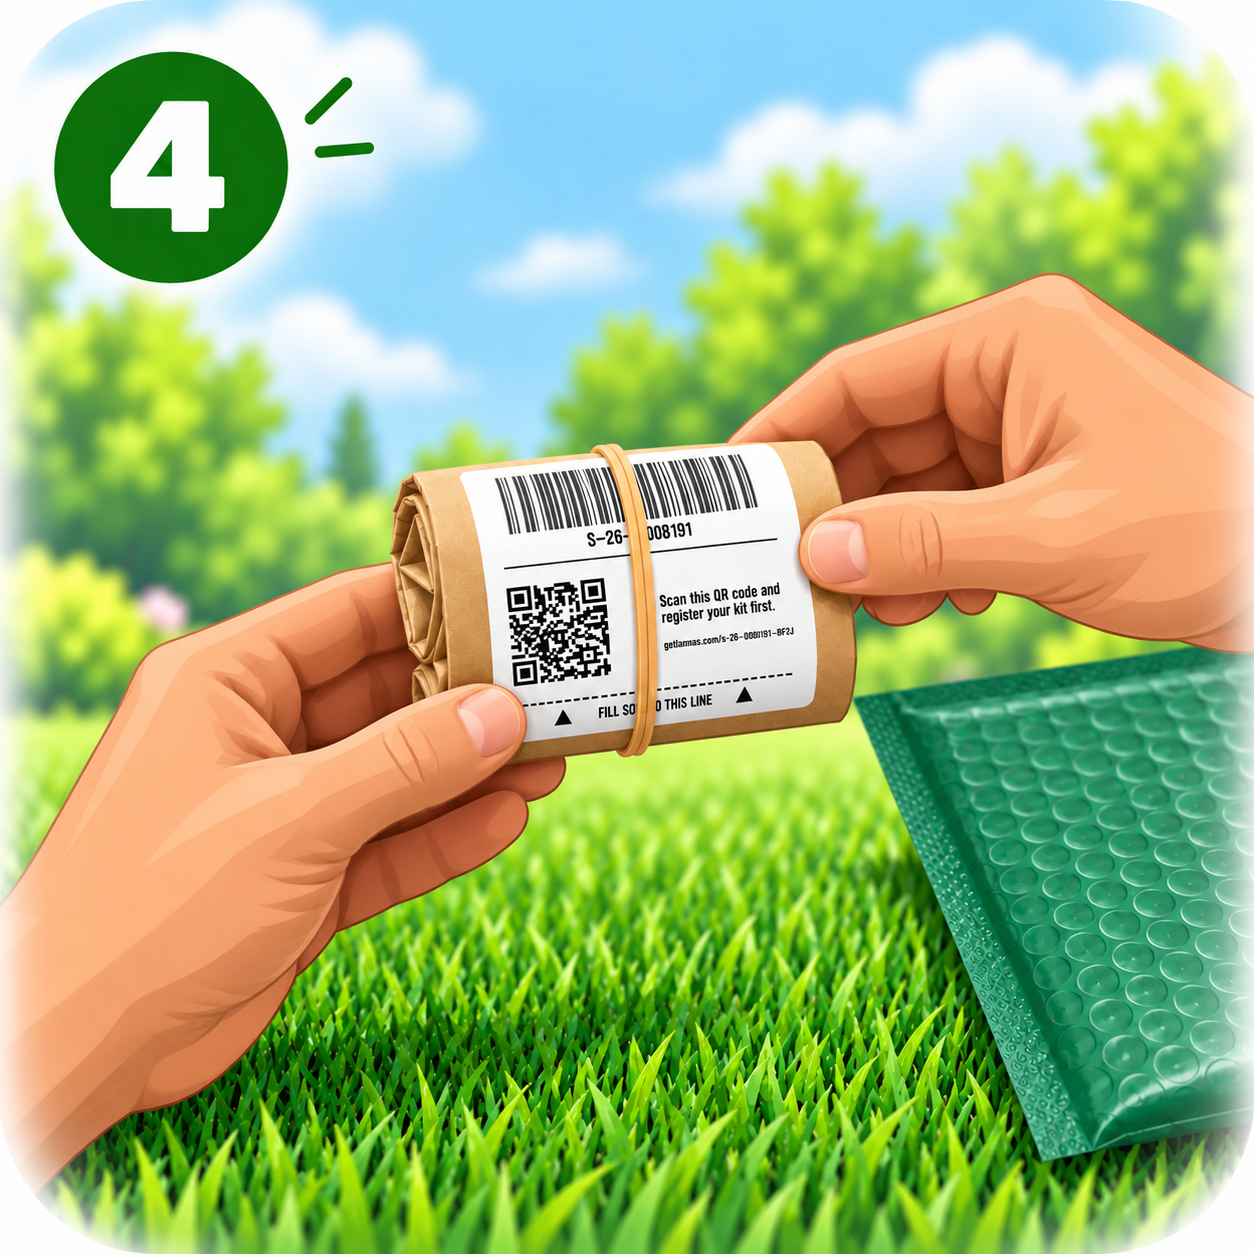
4. Fold it, add the rubber band
Fold the top of the bag over a couple of times and slip the rubber band around it. Snug is enough.
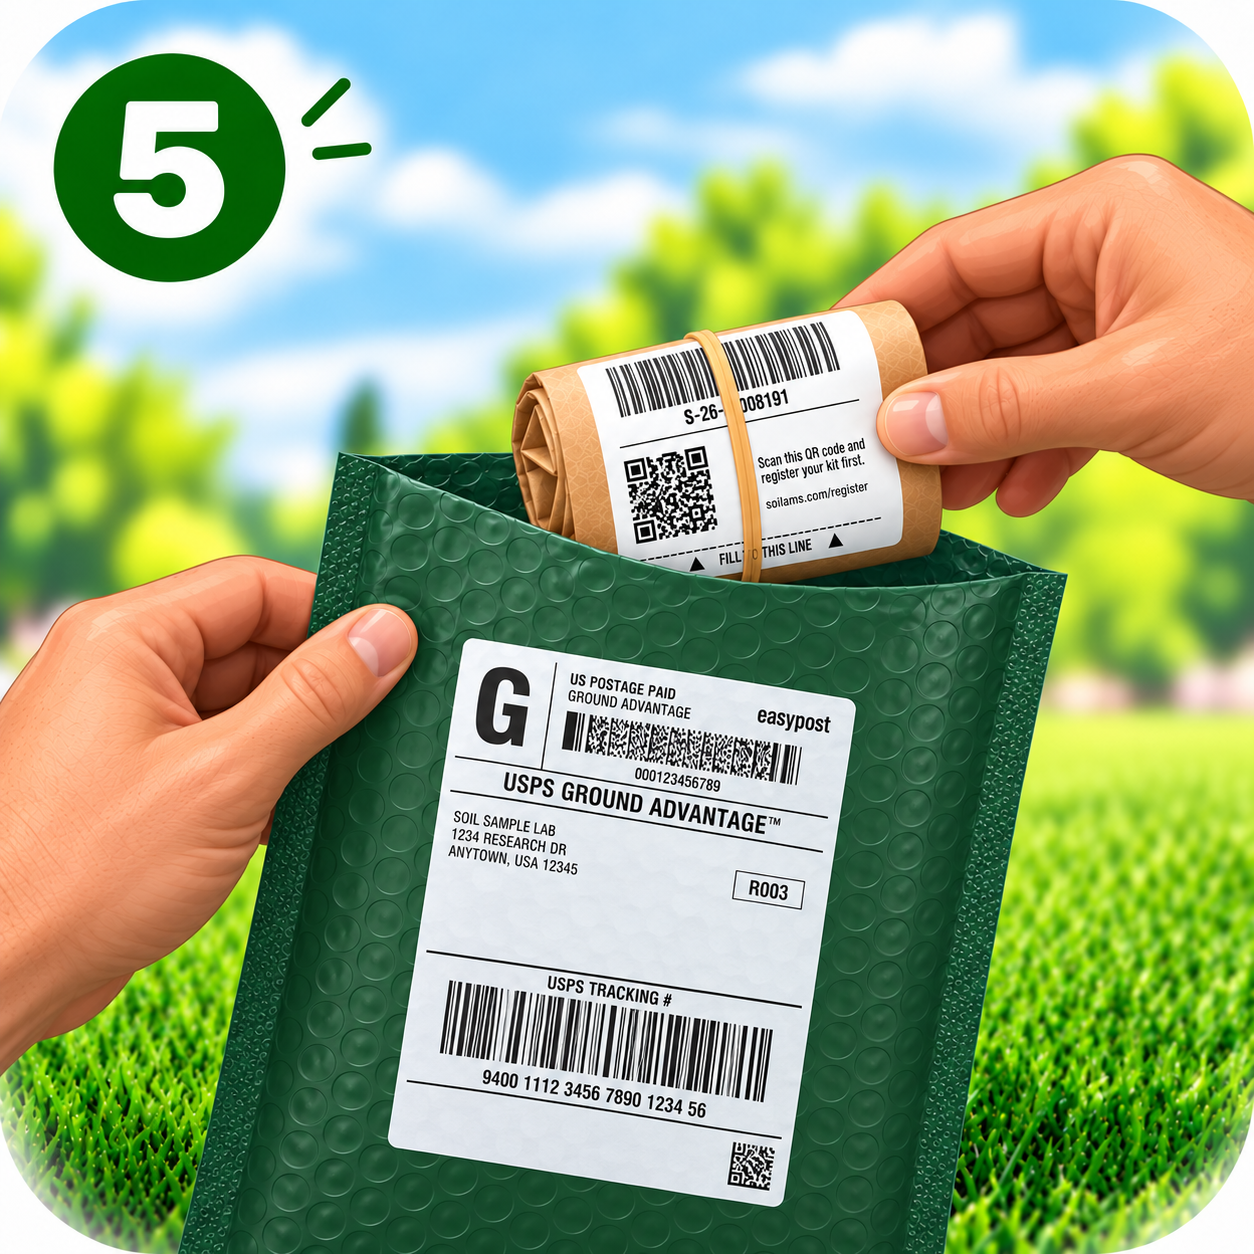
5. Into the mailer
Slide the bag into the bubble mailer from your kit. The prepaid shipping label is already on it, addressed to the lab.
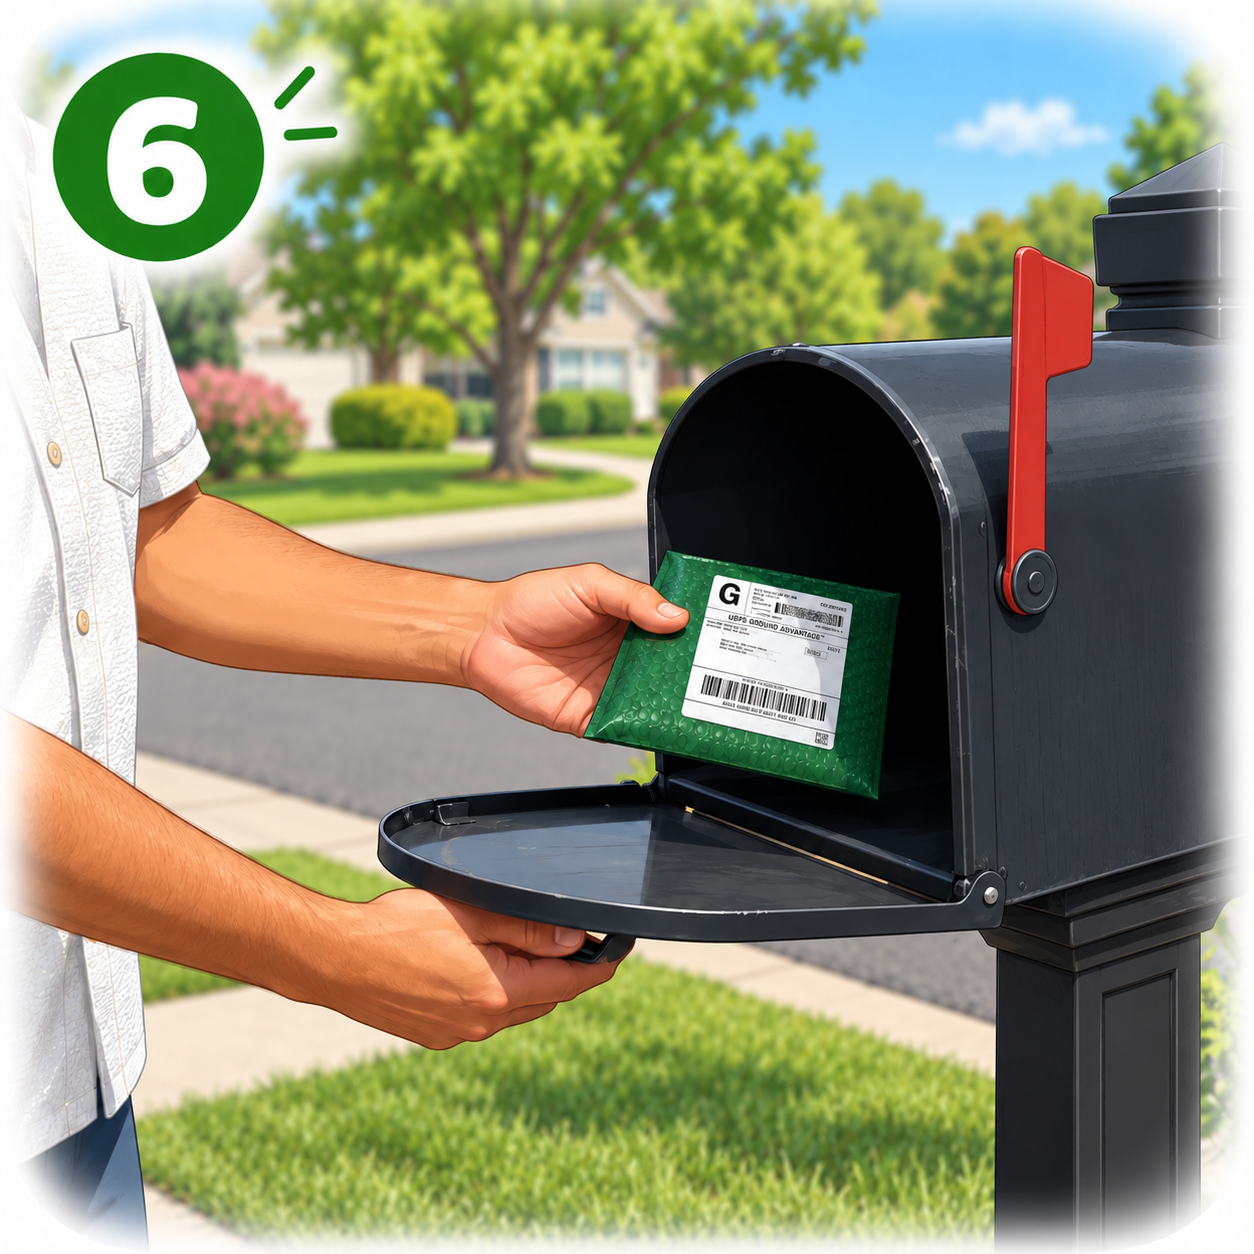
6. Mail it
Any mailbox, any post office. Postage is covered, and your results land in your account about 5 days after the lab receives your sample.
Swipe to see all six steps
Do not ship the box back
The box is yours to keep. Put the closed sample bag in the bubble mailer that came inside it, and mail the bubble mailer back to the lab. If you are testing more than one area, register and fill a separate bag for each - they can all travel in the same mailer.